A step-by-step guide to cleaning, maintaining, and protecting your motorcycle chain for smoother performance and longer lifespan.
Subscribe to our Instagram Channel for instant news & updates!
The motorcycle chain is one of the most important components of your bike’s drivetrain. It transfers power from the engine to the rear wheel, making it essential for performance, efficiency, and safety. However, chains are constantly exposed to dirt, dust, water, and road debris.
Without regular cleaning and lubrication, they can wear out quickly and affect your motorcycle’s performance. Proper chain maintenance not only extends its lifespan but also improves smoothness, reduces noise, and helps maintain overall riding efficiency.
Why Cleaning Your Chain Is Important
Over time, dirt and grime build up between the chain links and rollers. This buildup increases friction, which can lead to faster wear. A dirty chain may also cause uneven power delivery, reduced fuel efficiency, and unnecessary stress on the sprockets.
Regular cleaning helps remove contaminants that can damage the chain’s internal components. It also allows lubricant to penetrate properly, ensuring smoother movement and better protection against corrosion.
When Should You Clean the Chain?
The frequency of chain cleaning depends on how often and where you ride. Riders who commute daily in heavy traffic or ride in rainy conditions may need to clean their chain more frequently.
As a general guideline, cleaning after every few hundred kilometers is a good practice, especially if the bike is exposed to harsh conditions. If you notice visible dirt, rust, or unusual noise from the drivetrain, it is a sign that the chain needs immediate attention.
What You Need Before Starting
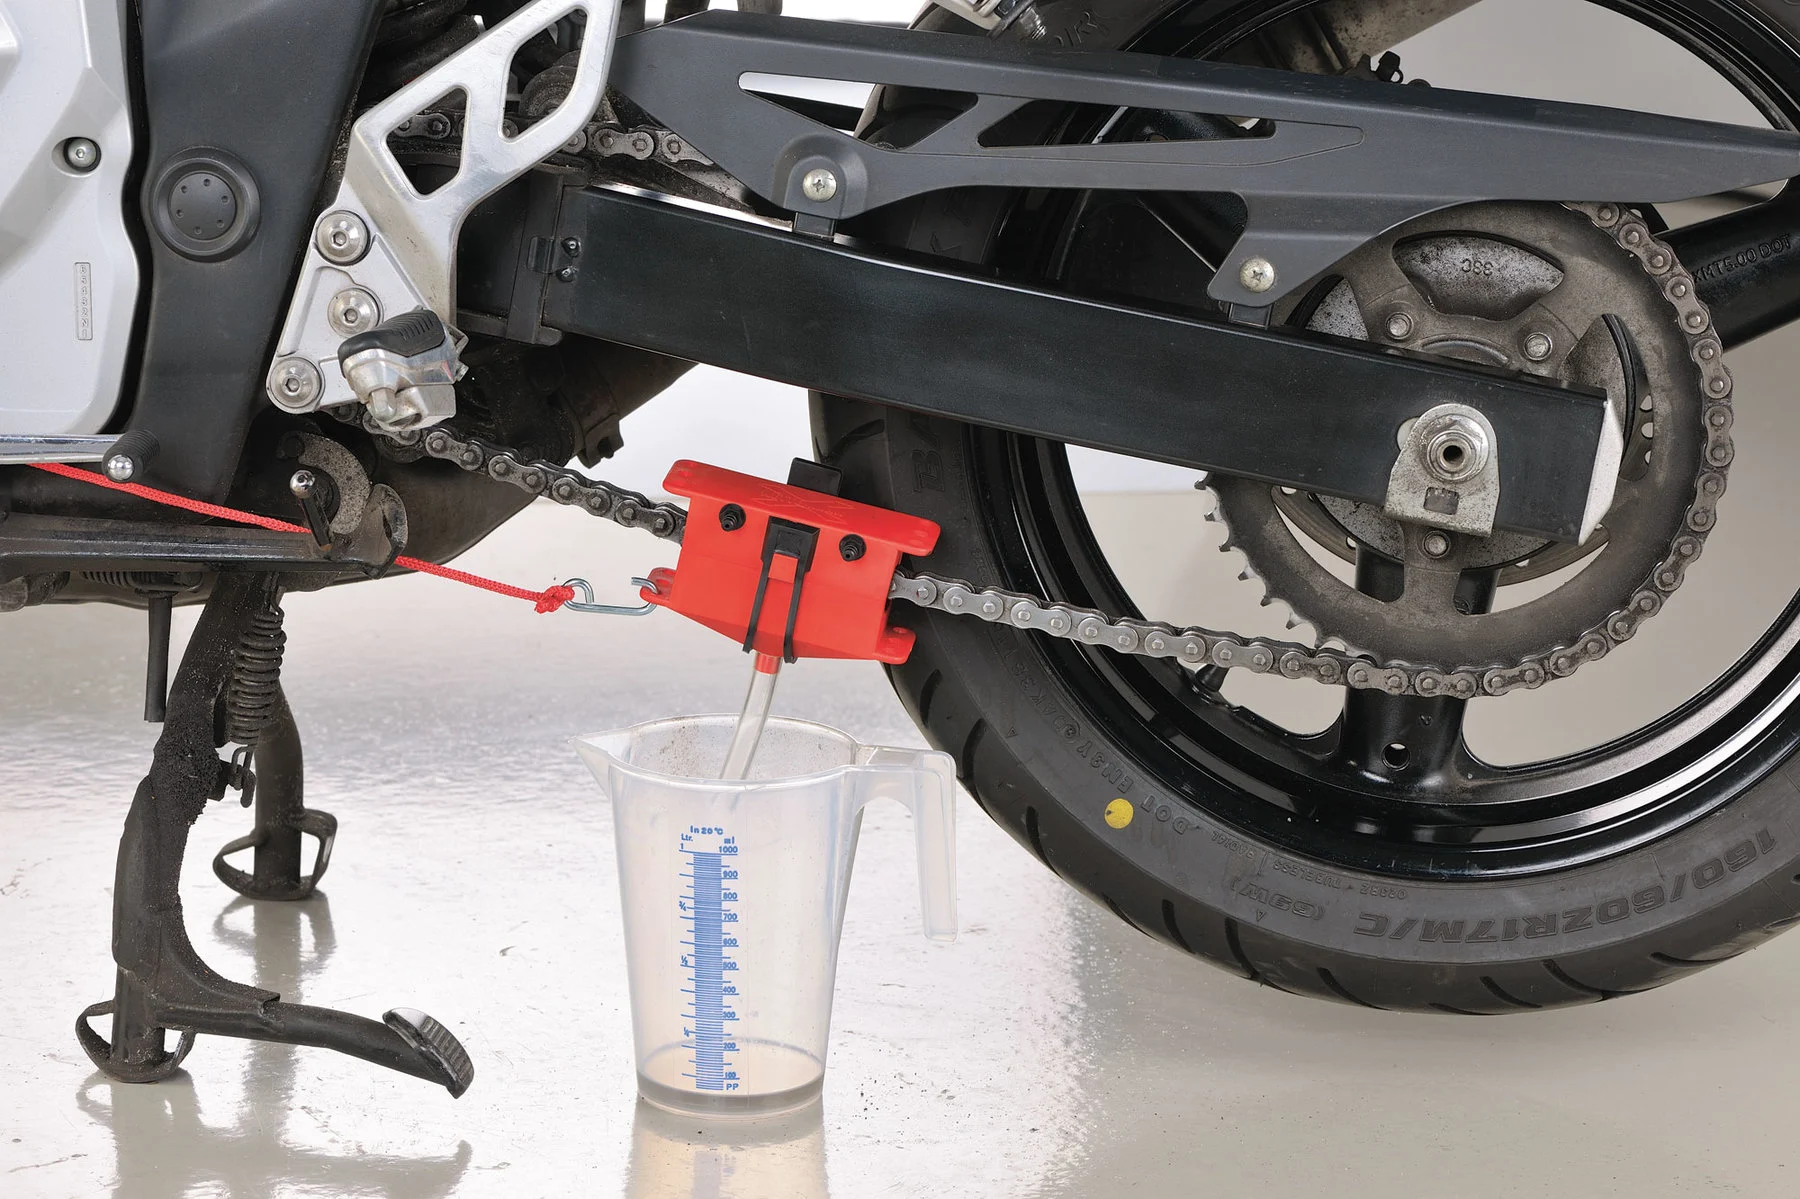
Before cleaning, make sure the motorcycle is parked securely on a stand so the rear wheel can rotate freely. You will need a chain cleaner or suitable degreaser, a soft brush, a clean cloth, and chain lubricant designed specifically for motorcycles.
Avoid using harsh chemicals that may damage the O-rings or seals inside the chain. Having the right tools ensures the cleaning process is effective and safe for your components.
Step-by-Step Chain Cleaning Process
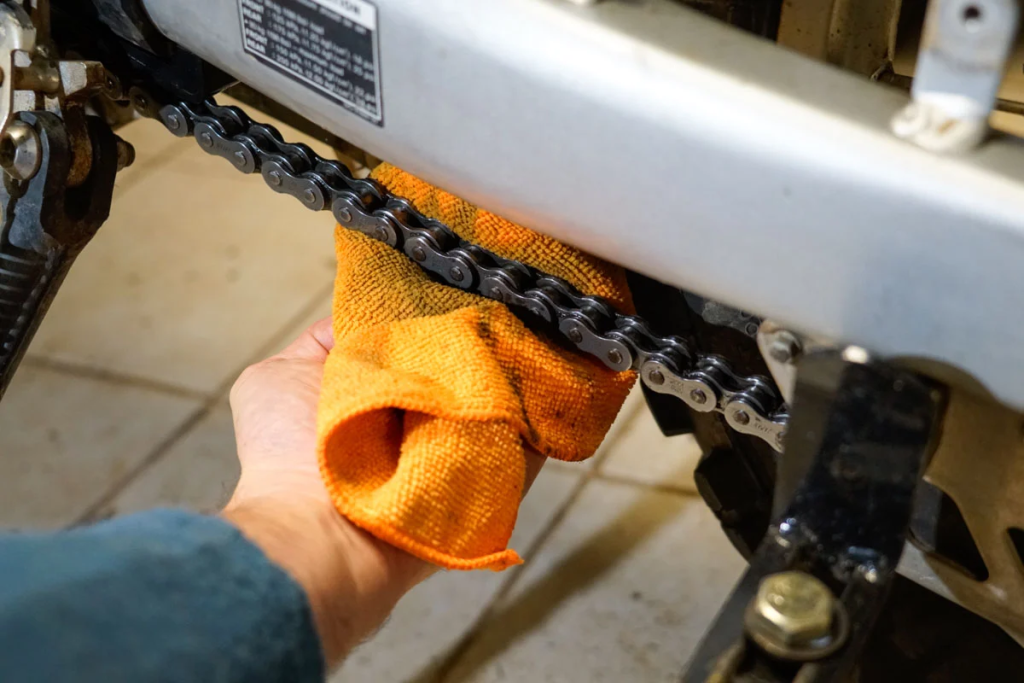
Start by spraying the chain with a proper chain cleaner or degreaser. Allow it to sit for a few minutes so it can break down dirt and old lubricant. Next, use a soft brush to gently scrub the chain while rotating the rear wheel slowly. This helps remove grime from all sides of the links and rollers.
After scrubbing, wipe the chain thoroughly with a clean cloth to remove any remaining residue. Make sure the chain is completely dry before applying lubricant, as moisture can reduce its effectiveness and encourage rust.
How to Lubricate the Chain Properly
Once the chain is clean and dry, apply motorcycle chain lubricant evenly while slowly rotating the rear wheel. Focus on the inside part of the chain, as this is where contact with the sprockets occurs.
Applying lubricant to the correct area ensures better penetration and protection. After applying, allow the lubricant to settle for a short period before riding. This helps it bond properly to the chain surface.

Common Mistakes to Avoid
One common mistake is using excessive lubricant, which can attract more dirt. Another mistake is cleaning the chain with high-pressure water, as this can force water into sensitive areas and damage internal components. It is also important not to neglect regular inspection, as early signs of wear can prevent bigger problems later.
Final Thoughts
Cleaning your motorcycle chain is a simple but essential maintenance task that significantly affects performance and safety. With regular cleaning and proper lubrication, you can extend the life of your chain and sprockets while ensuring smoother power delivery. Consistent maintenance not only saves money in the long run but also keeps your motorcycle running efficiently and reliably.


Facebook
Instagram
X (Twitter)
YouTube
LinkedIn
RSS